How to set a digital alarm clock in under 2 minutes!
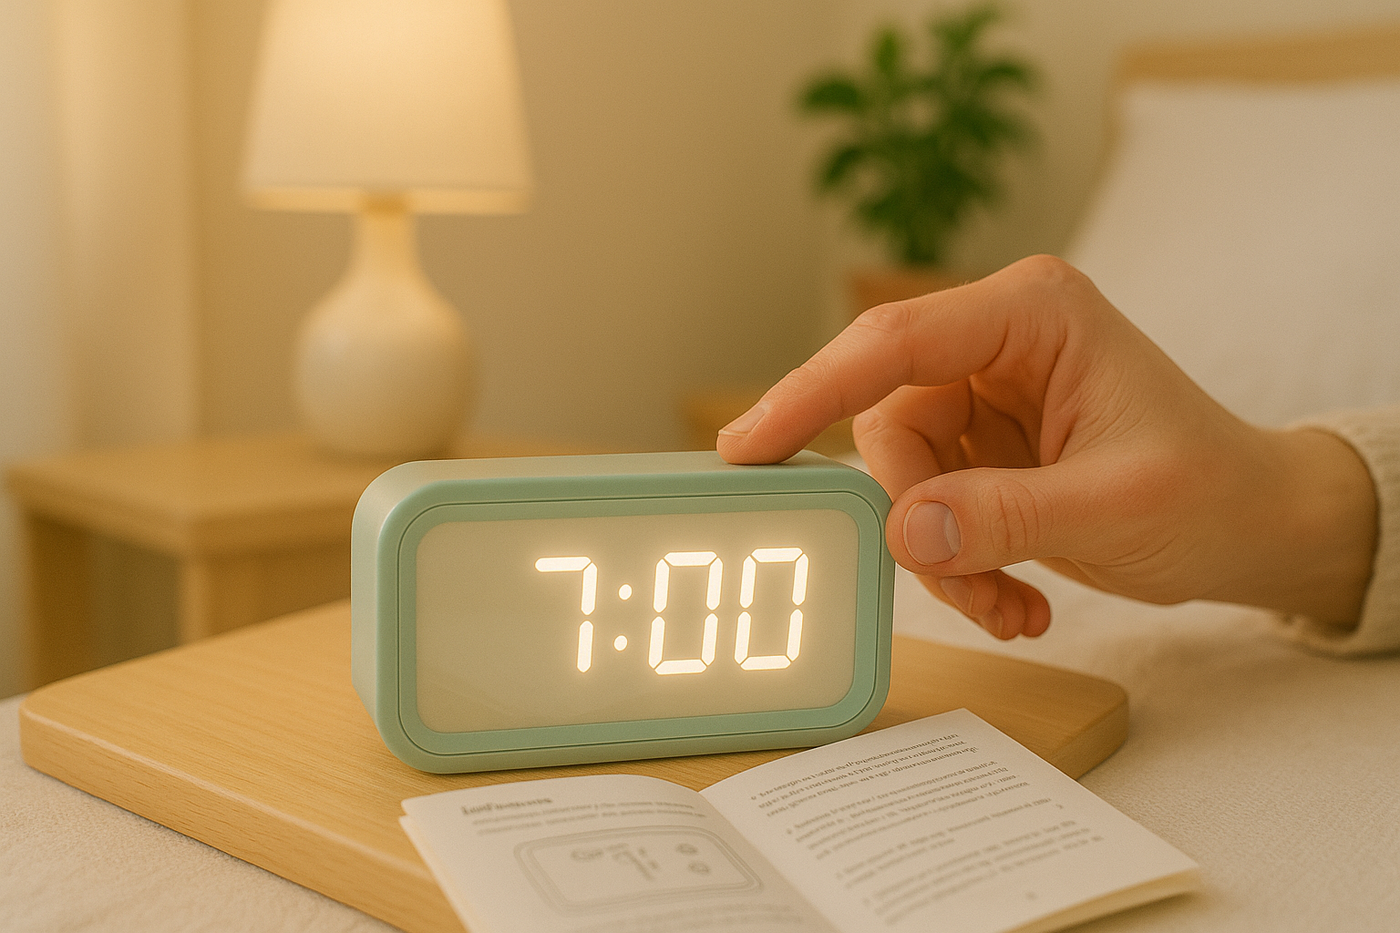
Knowing how to set a digital alarm clock is a simple task that generally follows a similar logic from one model to another. Whether you have a basic alarm clock, a clock radio or a more advanced model, the fundamental steps remain the same. This detailed guide will help you set the time and the alarm on your device with ease. If you use an alarm clock night light, the procedure is often identical, with a few extra features designed to make bedtime more comfortable.
Key buttons and their functions
Before you start, familiarise yourself with the most common buttons found on most digital alarm clocks:
| Button name (or similar) | Main function |
|---|---|
| SET / MODE / CLOCK / TIME | Enter settings mode (time, date, etc.). |
| ALARM / AL. SET / AL1 / AL2 | Access the alarm settings mode. |
| + / - / UP / DOWN / ▲ / ▼ | Increase or decrease the digits (hours, minutes). |
| SNOOZE / REPEAT | Repeat the alarm after a few minutes. |
| RADIO / ON / OFF | Turn the radio function on or off. |
| 12/24H | Change the time format (12-hour or 24-hour). |
Summary:
-
Enter settings mode: Press and hold SET or MODE.
-
Set the time: Use + / - to adjust the hours and minutes.
-
Set the date (if available): Same procedure (year, month, day).
-
Change the format: Press 12/24H to switch to the 24-hour clock.
-
Confirm: Press SET/MODE again to exit settings mode.
-
Set the alarm: Press ALARM, set the hour/minutes with + / -, confirm.
-
Choose the sound (if available): Buzzer or radio.
-
Activate the alarm: Check that a symbol is displayed (bell, AL).
-
Deactivate: Press ALARM or use an ON/OFF switch.
-
Snooze: Press SNOOZE to put the alarm off for a while.

Step 1: Set the Time and Date
The first step is to set your alarm clock to the correct time.
-
Enter settings mode: Press and hold the SET or MODE button for a few seconds. The time display will then start flashing.
-
Set the hours: Use the + and - buttons (or UP/DOWN) to adjust the hours. On some models, you will need to confirm by pressing SET or MODE again.
-
Set the minutes: Once the hours have been set and confirmed, the minute digits will start flashing. Do the same with the + and - buttons.
-
Set the date (if available): If your alarm clock allows it, you can then set the year, month and day following the same procedure.
- Confirm and exit settings mode: Press SET or MODE one last time to save your settings and return to the normal time display.
Tip: If you hold down the + or - button, the digits will scroll faster.
Understanding the AM/PM format on your alarm clock

Some digital alarm clocks, particularly imported models, display the time in 12-hour format, with AM (morning) and PM (afternoon/evening). Here's what you need to know:
-
AM: between midnight (00:00) and midday (11:59)
-
PM: between midday (12:00) and 23:59
👉 For example, 2:00 PM corresponds to 14:00 in 24-hour time.
Can you switch to the "24-hour" clock?
Yes, if your alarm clock allows it, you can change the format from 12h (AM/PM) to 24h (displaying 14:00, 22:00, etc.).
How do you do it?
Look for a button marked 12/24H or an option in the settings mode (SET/MODE). Press it once or several times to switch between the two formats.
Tip: If the time changes from 2:00 PM to 14:00, you have successfully switched to the 24-hour format.
Step 2: Set the Alarm
Once the correct time is displayed, you can set your alarm.
-
Go to alarm mode: Press the ALARM (or AL. SET) button. The previously set alarm time or a default time will be displayed.
-
Enter alarm settings mode: Hold down the ALARM button until the alarm time digits start flashing.
-
Set the alarm hour: As with the main time, use the + and - buttons to choose the wake-up hour you want. Confirm by pressing ALARM.
-
Set the alarm minutes: Adjust the minutes with the same buttons and confirm.
-
Choose the type of alarm sound (if applicable): On clock radios, you will often have the choice between a "buzzer" (beep-beep) and the radio. A corresponding icon will be displayed. Use a dedicated button or the setting buttons to make your choice.
-
Activate the alarm: Once the alarm time has been set, make sure the alarm is activated. Generally, a symbol (a bell, a dot, "AL" or "ALARM") appears on the screen to show that the alarm will go off. If it doesn't, press the ALARM button once or a dedicated alarm ON/OFF button.
Step 3: Activate, Deactivate and Repeat the Alarm
-
To stop the alarm in the morning: Press any button except SNOOZE. Often, the ALARM or POWER button lets you switch it off completely for the day.
-
To repeat the alarm (Snooze): When the alarm goes off, press the big SNOOZE button (often the most visible one). The alarm will stop temporarily and go off again after a short interval (usually 5 to 10 minutes).
-
To deactivate the alarm completely: So that it doesn't go off the next day (at the weekend, for example), press the ALARM button once or several times until the alarm symbol disappears from the screen. Some models have an ALARM ON/OFF switch.
Our best-selling digital alarm clocks


All our alarm clock night lights
Common problems & quick fixes
| Problem | Solution |
|---|---|
| "0:00" flashing | Set the time manually |
| The alarm doesn't go off | Activate the alarm, check the volume and settings |
| Time keeps going wrong | Replace the backup battery |
| Crackling radio | Extend the aerial, change the location |
| Incomplete or faint digits | Check the power supply or consider a repair |
| Alarm at the wrong time | Check the 12H/24H format (AM/PM) |
Special Cases
-
Clock radio: To use the radio as your alarm sound, make sure you have first tuned in and saved your favourite radio stations using the TUNE or station search buttons.
-
Projection alarm clocks: These alarm clocks project the time onto a wall or ceiling. Setting the time and alarm follows the same principles as described above. Additional buttons let you turn the projection on or off, or rotate it.
- Automatic setting (radio-controlled): Some alarm clocks set themselves automatically by picking up a time signal. If yours does, you generally won't need to set the time manually.